From Imagination to Reality: Crafting Your Custom 3D Printed Décor in 5 Steps!
From Imagination to Reality: Crafting Your Custom 3D Printed Décor in 5 Steps!
Imagine turning your wildest décor dreams into tangible reality with just a few clicks! At Roar3D Creative Designs, we mix creativity and cutting-edge technology to craft custom 3D printed décor that’s as unique as you are. Ready to transform your space? We’ll guide you through five easy steps that bring your personalized vision to life. From your first sketch to the final masterpiece, learn how our process ensures every piece is a true reflection of your imagination. Let’s print your dreams into reality! For more insights, check out this guide on designing your first 3D printed project.
Sketching Your Vision

Conceptualizing Your Design
Creating 3D printed décor begins with an idea. Conceptualization serves as the foundation for custom design. It’s where your imagination meets practicality and creativity. Start by defining the purpose of your décor. Is it functional, purely aesthetic, or a blend of both? Understanding this helps shape the overall design.
Next, sketch your ideas. Use traditional pencil and paper or digital tools. Focus on basic shapes and structures. Keep it simple to allow room for refinement. As you sketch, consider dimensions and proportions. This is crucial in ensuring your design translates well into a 3D model.
Lastly, review your sketch with a critical eye. Ask yourself if it captures the essence of your vision. Does it embody the uniqueness you desire? If something feels off, tweak it until it aligns with your creative goals. This step ensures a solid blueprint for your 3D printed décor. ✏️
Gathering Inspiration
Inspiration fuels the creative process. Look around your environment or browse online galleries for ideas. Pinterest and design blogs can be treasure troves of creativity. Collect images, patterns, and textures that captivate you. Consider how these elements could influence your design.
Discuss your ideas with friends or fellow hobbyists. Sharing thoughts can spark new perspectives. Explore forums like Reddit’s 3D printing community for advice and inspiration from enthusiasts.
Create a mood board. This visual collection of your gathered materials helps keep your vision cohesive. As you compile these elements, start visualizing how they fit together. The goal is to cultivate a design that feels both fresh and personal. Remember, inspiration is about seeing the potential in the world around you and channeling it into your unique creation. 🌟
Bringing Designs to Life
The 3D Printing Process
Turning designs into reality involves a precise 3D printing process. Here’s a simple breakdown:
-
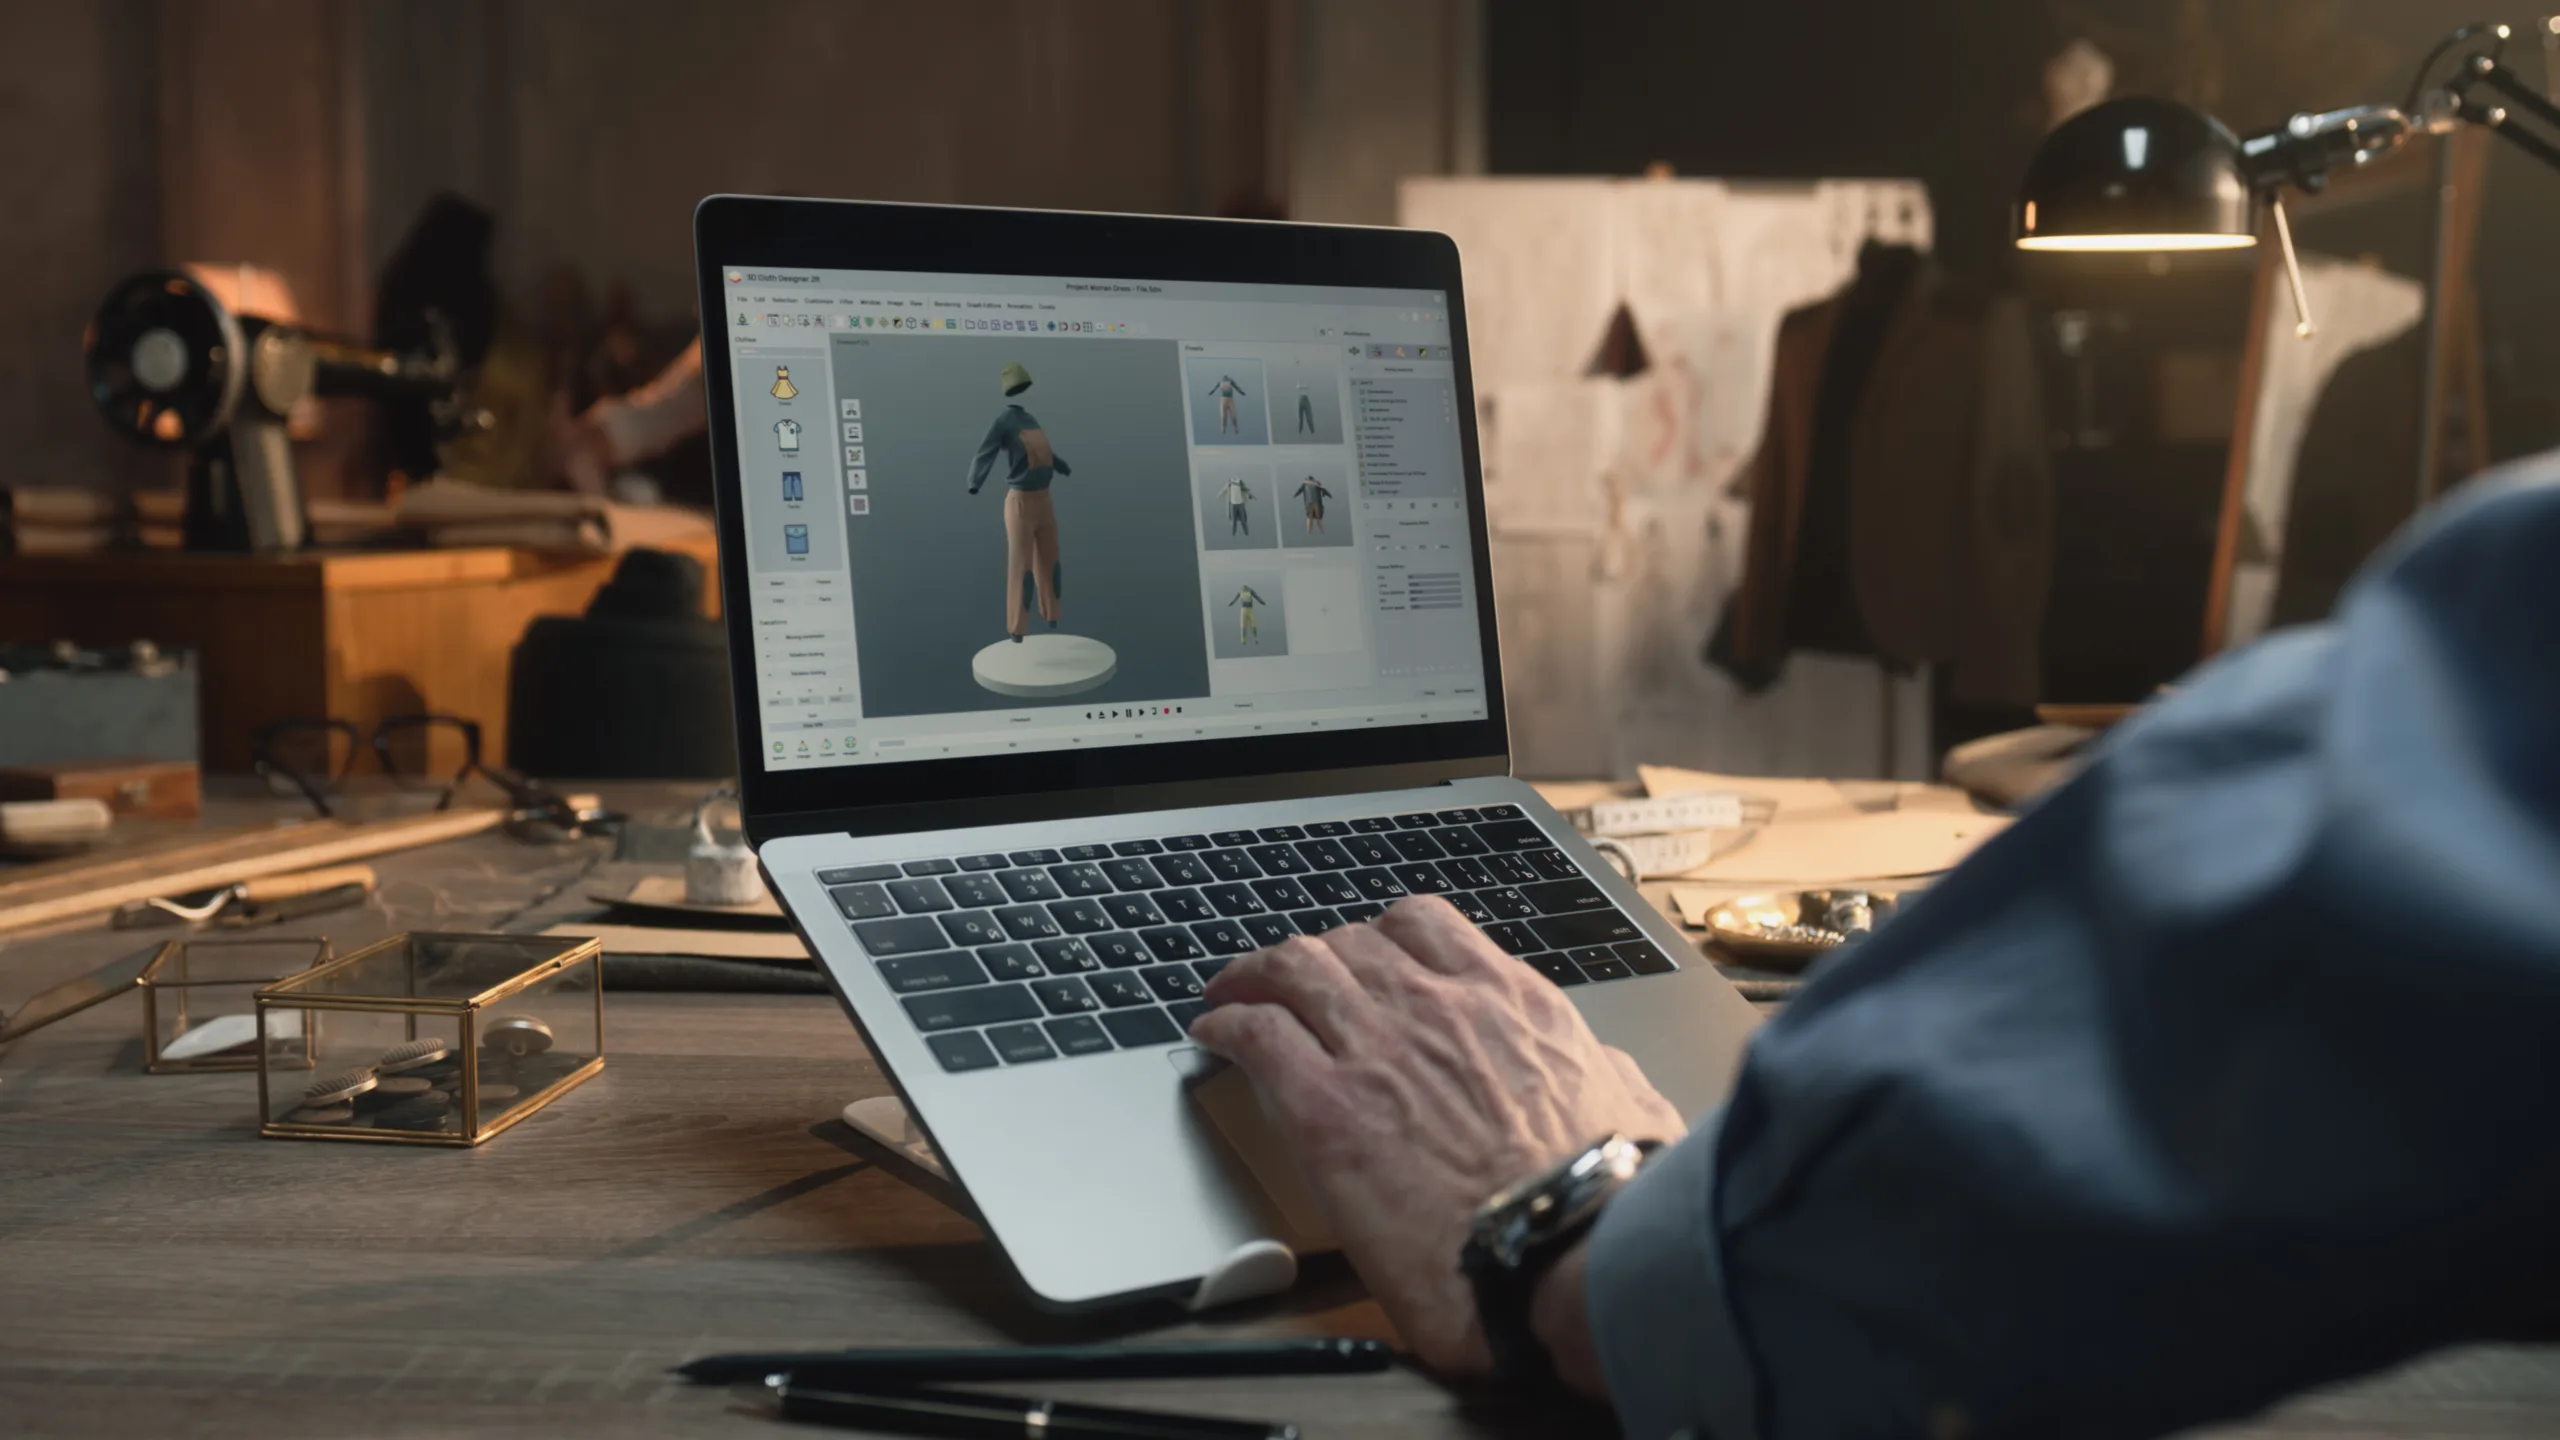
Prepare the 3D model: Use software to convert your sketch into a digital 3D model. Ensure accuracy in dimensions and details.
-
Select materials: Choose materials that suit your design’s needs. Options include plastics, resins, or even metals.
-
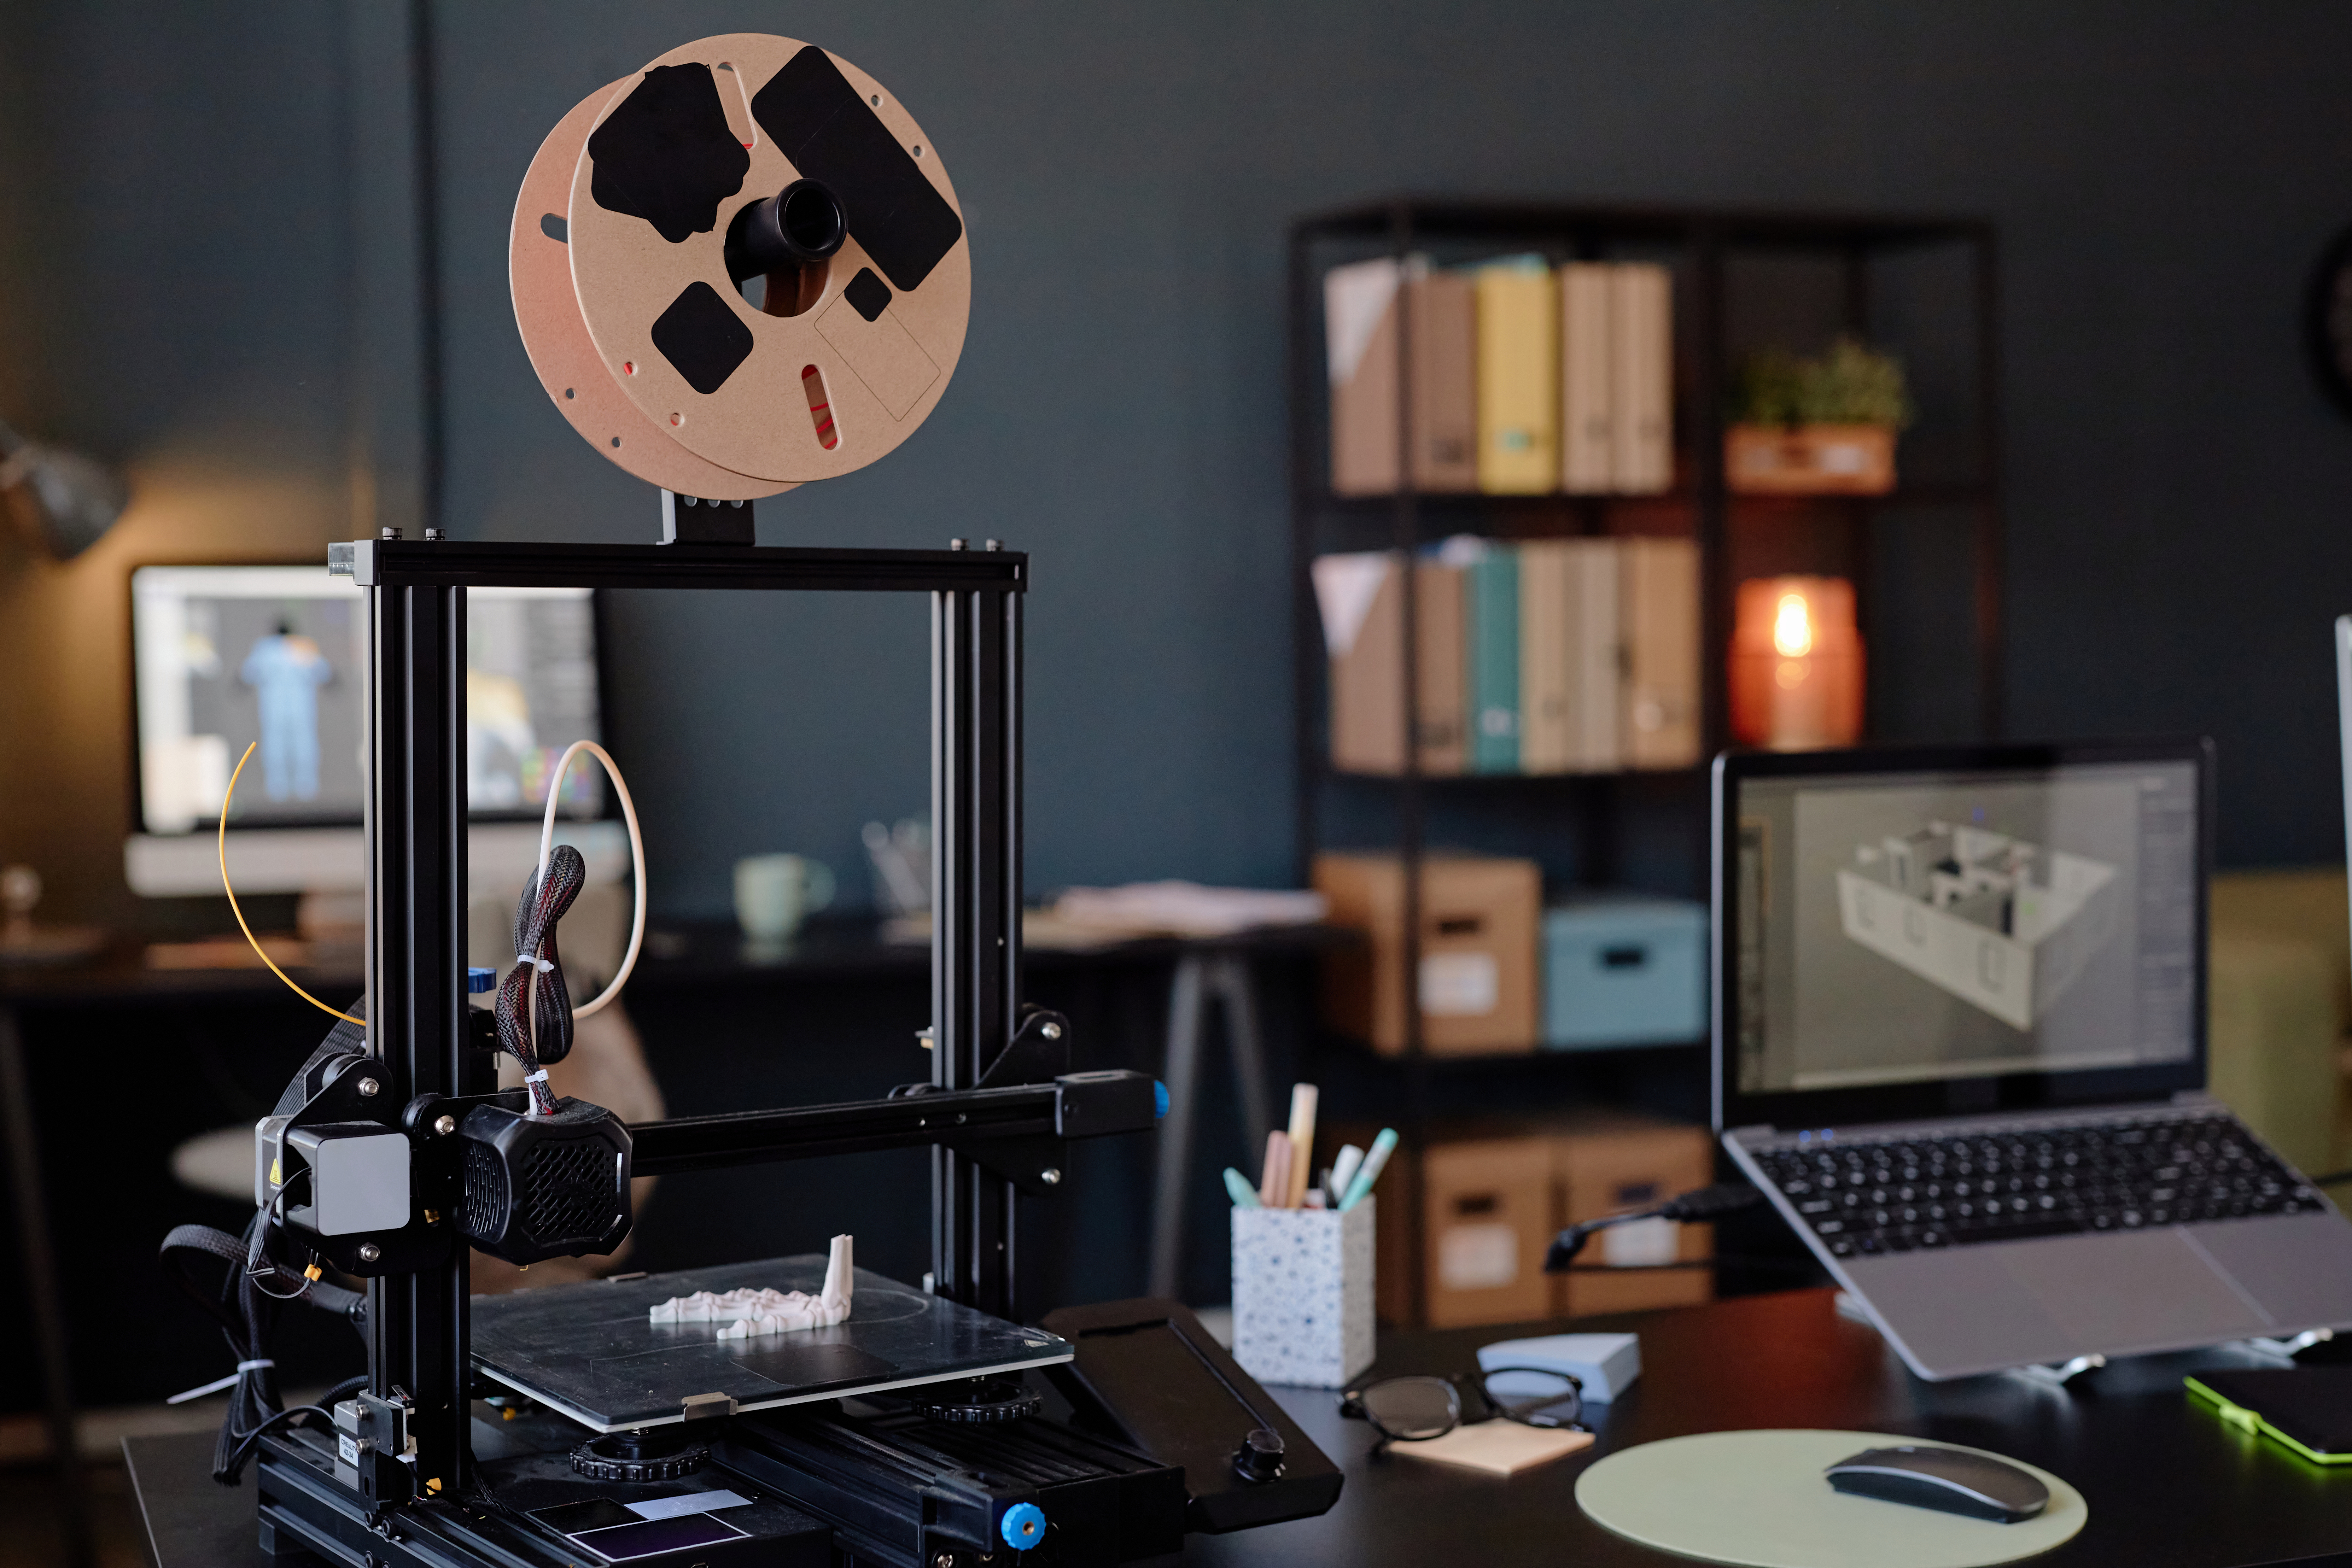
Set up the printer: Load the appropriate filament or resin into the 3D printer. Adjust settings based on material and design complexity.
-
Start printing: The printer builds the object layer by layer. This can take anywhere from a few hours to several days, depending on size and intricacy.
-
Post-processing: Once printed, remove support structures and smooth surfaces if necessary.
For a detailed guide, check out this step-by-step 3D printing process. Each step in the process is crucial to achieving the perfect custom 3D printed décor. 🖨️
Transforming Ideas into Reality
This phase is about breathing life into your design. Start by visualizing the finished product. Imagine how it will look and feel in your space. This vision guides the final adjustments in the design and printing process.
Use design software to refine your 3D model. Adjust details, textures, and colors to match your mental image. This step ensures your custom design aligns with your expectations. It’s an iterative process, so don’t hesitate to make changes.
Finally, see your creation come to life. Holding the finished piece is a rewarding experience. It’s a testament to your creativity and the power of 3D printing. The transformation from idea to tangible object is what makes custom 3D printed décor so special. Celebrate your achievement and let your unique piece shine in its new home. 🏡
Finishing Touches for Perfection

Adding Personalization
Personalization elevates your 3D printed décor. It’s what makes your piece uniquely yours. Consider adding names, dates, or special symbols. These elements can turn a simple object into a treasured keepsake.
Experiment with colors and finishes. Paints, stains, or metallic coatings can enhance your design’s aesthetic. Choose finishes that complement your space and style. This step is where your personal taste really shines through.
Think about functionality. Can your piece have a dual purpose? For example, a decorative sculpture could also serve as a bookend. Such personalized touches add value and meaning to your custom design. Ultimately, personalization is about expressing your individuality and creating something truly memorable. 🎨
Quality Checks and Final Flourishes
Before declaring your piece complete, conduct thorough quality checks. Inspect the 3D printed item for flaws or imperfections. Look for any layers that might have shifted during printing. Addressing these issues ensures a polished result.
Consider adding final flourishes. These could be subtle enhancements, like polishing edges or adding protective coatings. These minor adjustments can significantly impact the overall look and durability of your piece.
Finally, place your décor in its intended spot. Observe how it interacts with the environment. Does it complement the surroundings? Is it functional and visually appealing? These finishing touches are key to achieving perfection in your custom 3D printed décor. Enjoy the satisfaction of crafting something with care and precision. 🏆
Ready to transform your space with personalized 3D printed décor? Contact us today to bring your unique vision to life! Use code ROAR10 for10% off your first order.